LoreVPN Documentation
Video Guides
Step by Step
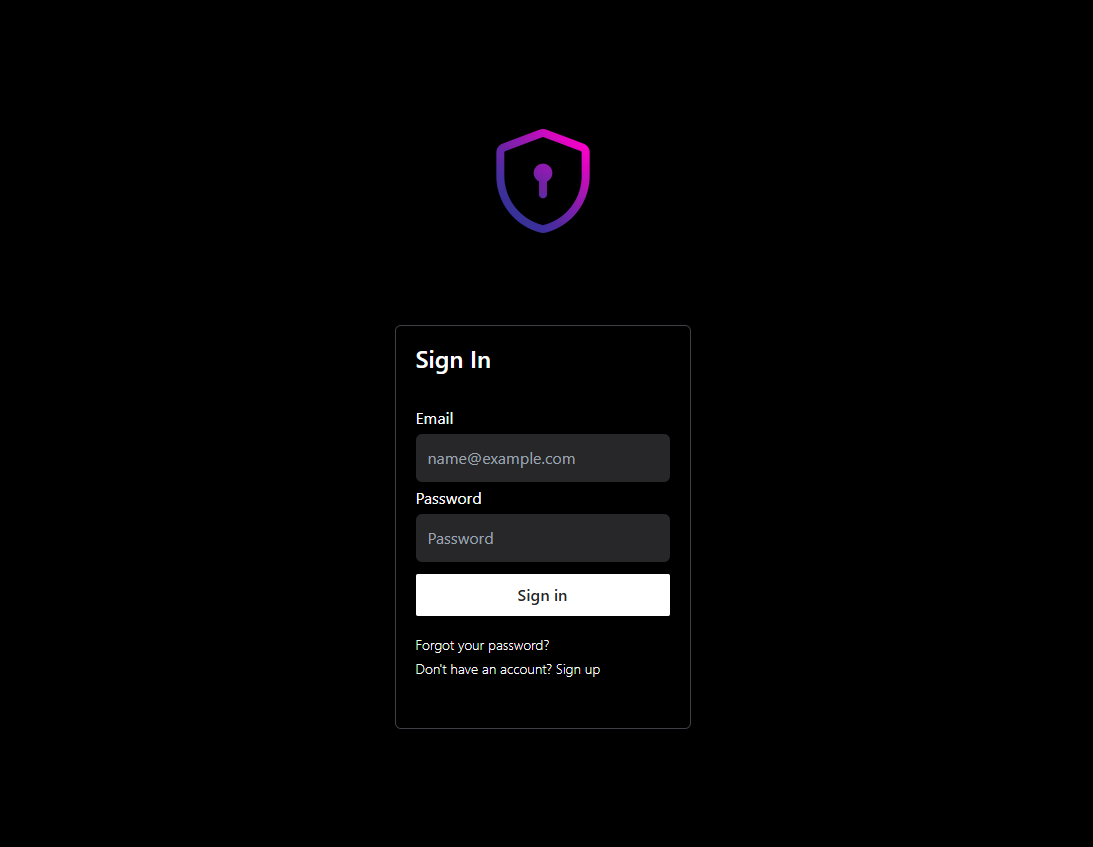
1. Sign Up for a LoreVPN Account
To begin using LoreVPN, you first need to create an account. Signing up is quick and easy—simply head over to our login page and register.
Having an account allows you to manage your VPNs, configure settings, and access support when needed.
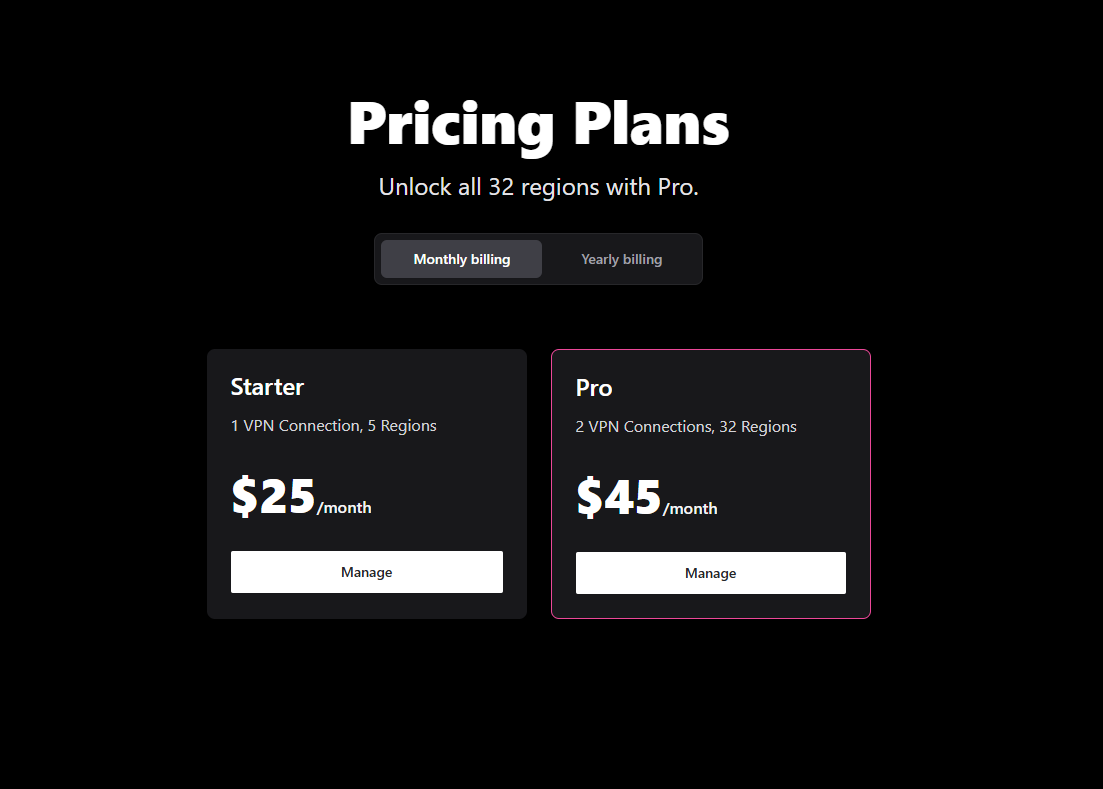
2. Choose a Subscription Plan
LoreVPN offers flexible plans to suit different needs. You can compare the available options on our pricing page.
- Basic Plan: Supports one at a time, ideal for individuals.
- Pro Plan: Allows two simultaneous VPNs, perfect for securing multiple devices or sharing access.
All plans come with encrypted traffic, a dedicated IP, and access to high-speed servers.
3. Create Your VPN in One Click
Once logged in, navigate to the dashboard and press the Create VPN button.
Your VPN will be assigned a unique IP address, ensuring your internet activity remains private. You can also choose a server location based on speed and proximity for the best performance.
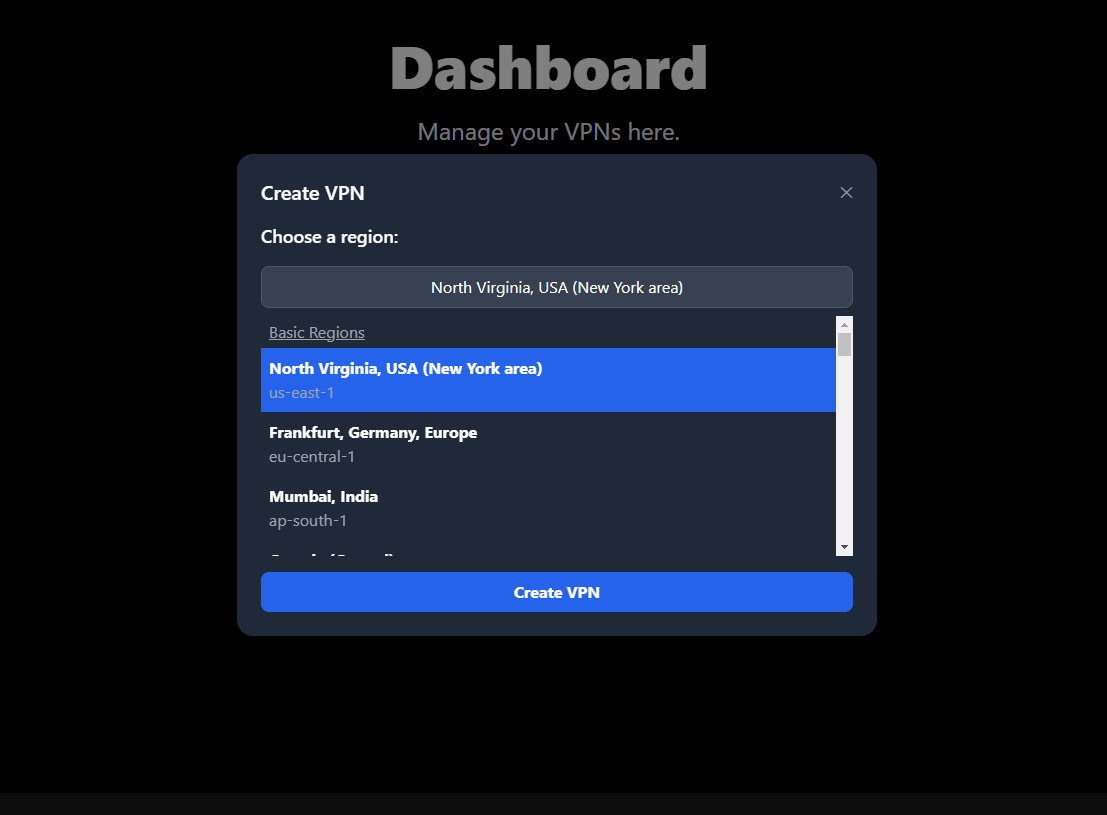
4. Select Your Region
Basic Plan Regions (5 key regions):
- North Virginia, USA (New York area) - us-east-1
- Frankfurt, Germany, Europe - eu-central-1
- Mumbai, India - ap-south-1
- Canada (Central) - ca-central-1
- Ireland, Europe - eu-west-1
Pro Plan Regions (32 regions):
- Hyderabad, India - ap-south-2
- Milan, Italy - eu-south-1
- Florence, Italy - eu-south-2
- Dubai, UAE - me-central-1
- Tel Aviv, Israel - il-central-1
- Mexico City, Mexico - mx-central-1
- Zurich, Switzerland - eu-central-2
- Northern California, USA (San Francisco area) - us-west-1
- Oregon, USA - us-west-2
- Cape Town, South Africa - af-south-1
- Stockholm, Sweden - eu-north-1
- Paris, France - eu-west-3
- London, UK - eu-west-2
- Osaka, Japan - ap-northeast-3
- Seoul, South Korea - ap-northeast-2
- Bahrain, Middle East - me-south-1
- Tokyo, Japan - ap-northeast-1
- São Paulo, Brazil - sa-east-1
- Hong Kong - ap-east-1
- Vancouver, Canada - ca-west-1
- Singapore - ap-southeast-1
- Sydney, Australia - ap-southeast-2
- Jakarta, Indonesia - ap-southeast-3
- Hong Kong - ap-southeast-4
- Kuala Lumpur, Malaysia - ap-southeast-5
- Ohio, USA - us-east-2
- Manila, Philippines - ap-southeast-7
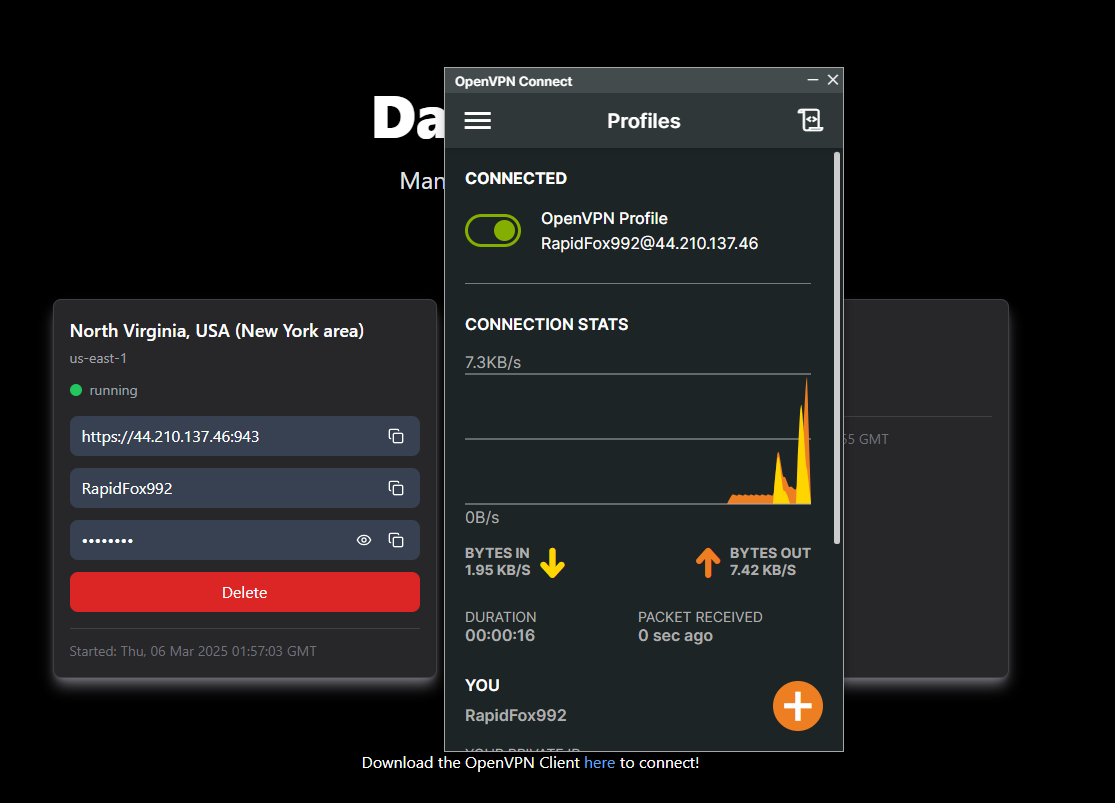
5. Connect Using OpenVPN Client
To use your VPN, you need an OpenVPN client. Download the latest version from OpenVPN’s official website.
After installation, simply use the provided login details provided on your LoreVPN dashboard to connect securely.